Using the Client
The Nextcloud desktop client runs in the background. Open its settings from the system tray on Windows and Linux or the menu bar on macOS.
Add account
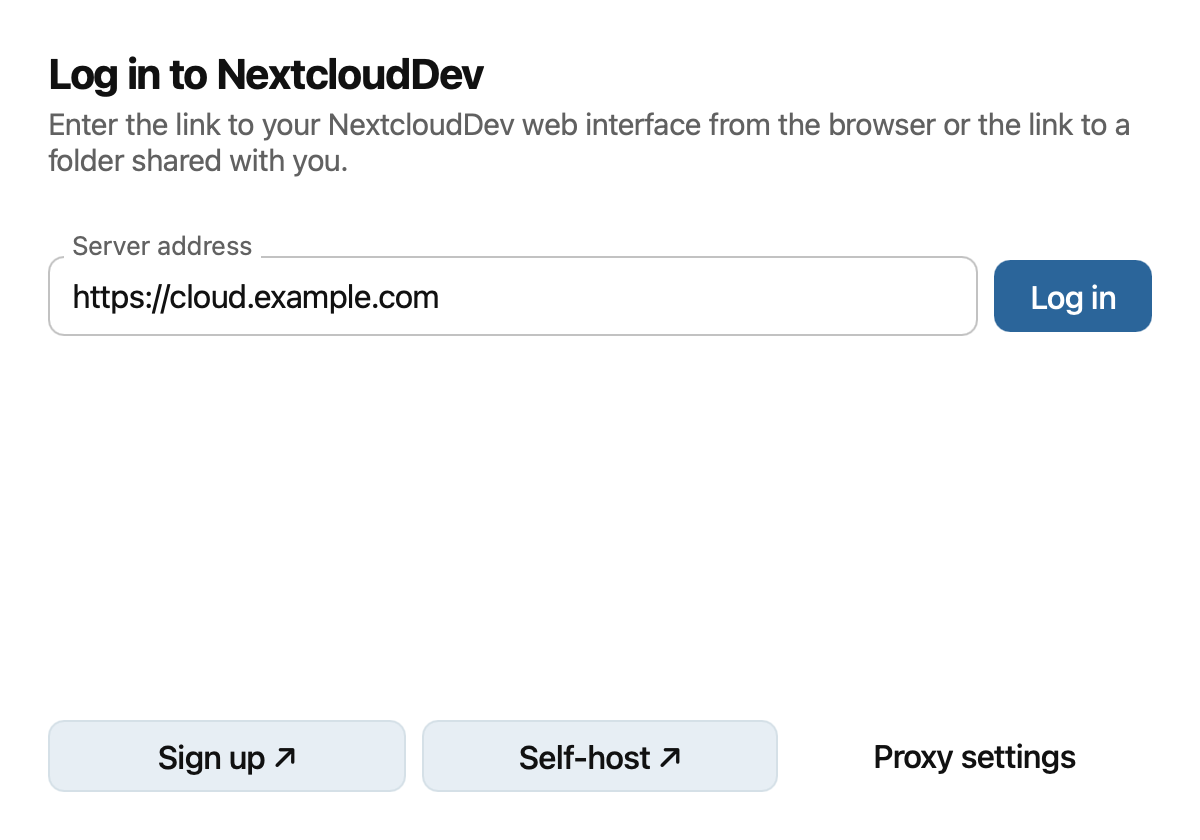
To connect another Nextcloud account, open the settings dialog and click Add account in the sidebar. Enter the address you use to access your Nextcloud server in a browser, then click Log in.
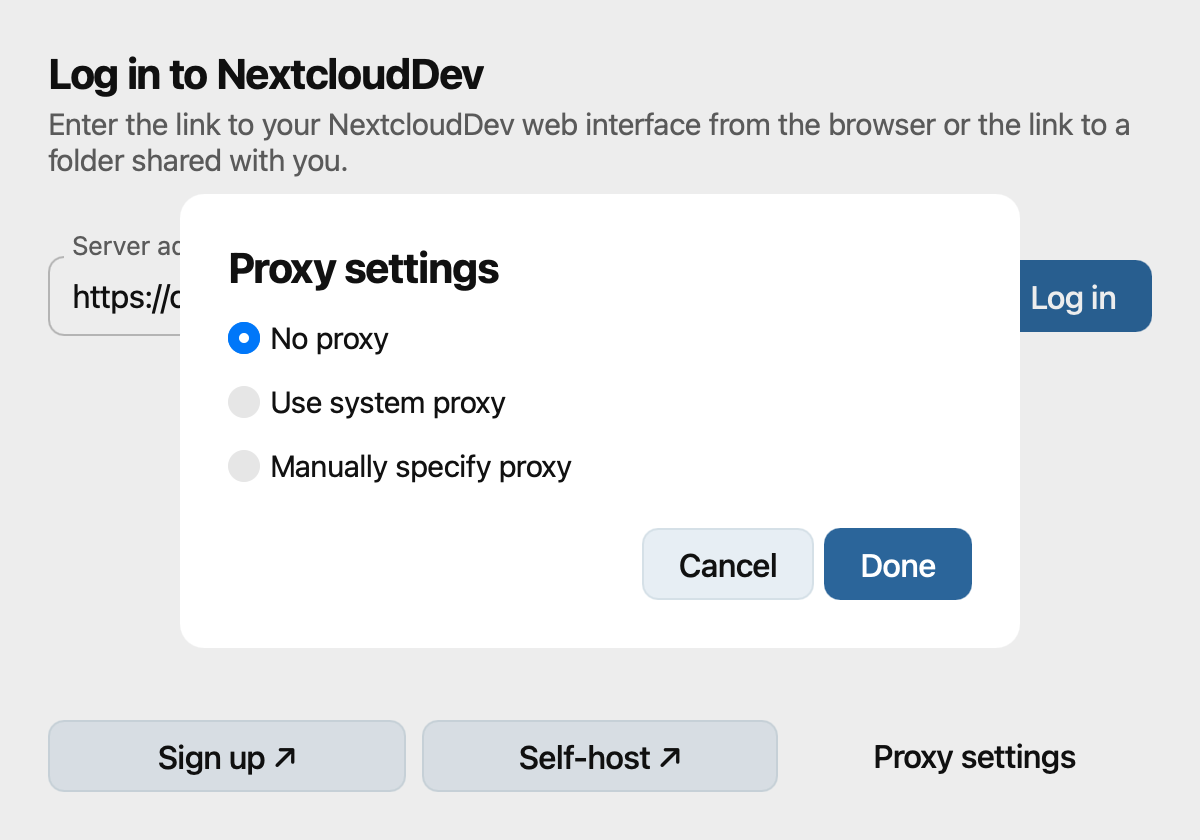
If your network requires a proxy, click Proxy settings before logging in. Choose the system proxy or enter your proxy settings manually, then click Done.
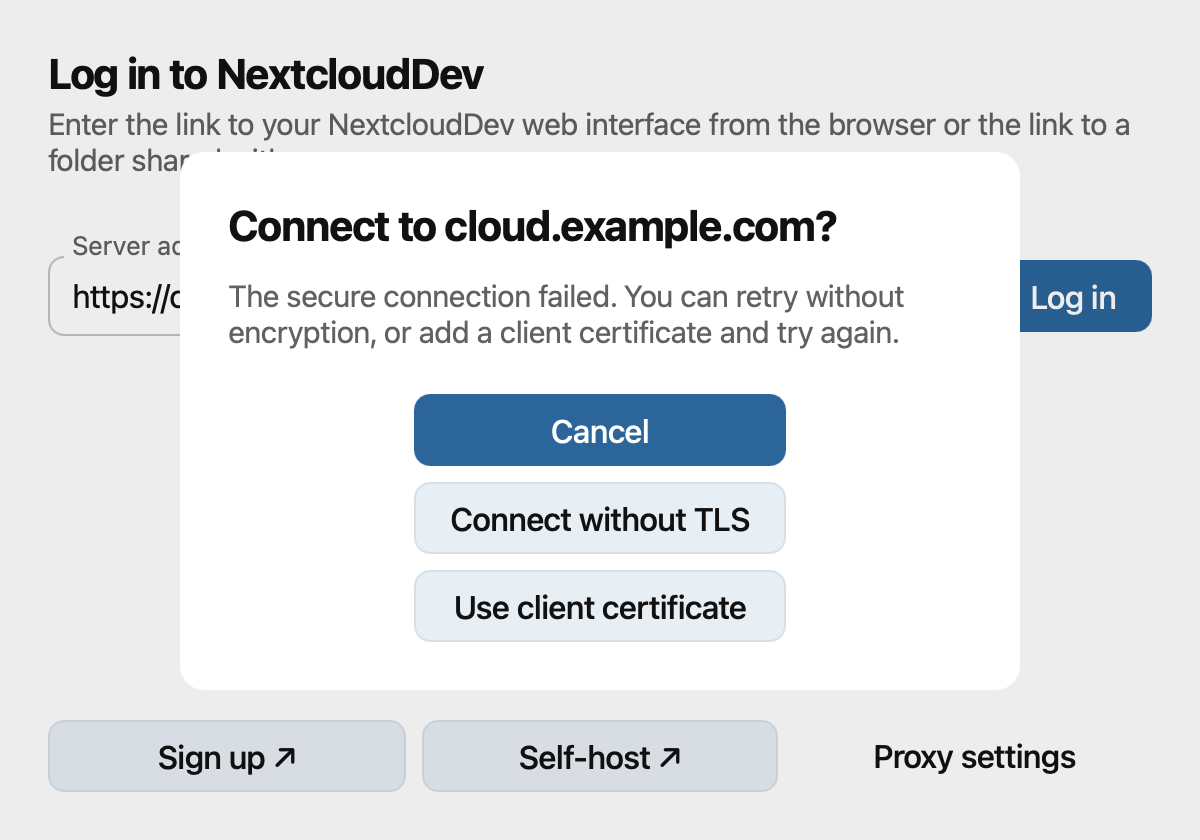
If the secure connection fails, check the server address and contact your server administrator. The wizard may offer to connect without TLS or use a client certificate. Use Use client certificate only if your server requires one.
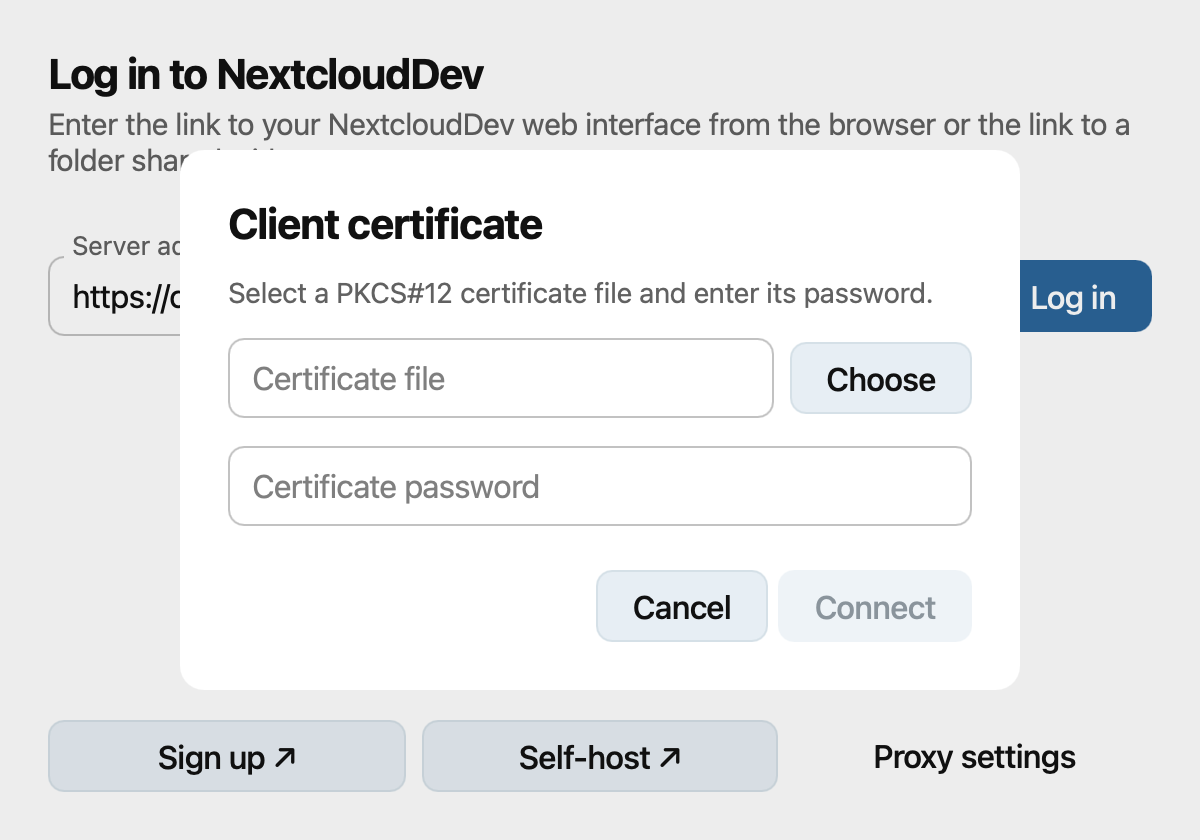
If prompted for a client certificate, choose the PKCS#12 file provided by your administrator, enter its password, and click Connect.
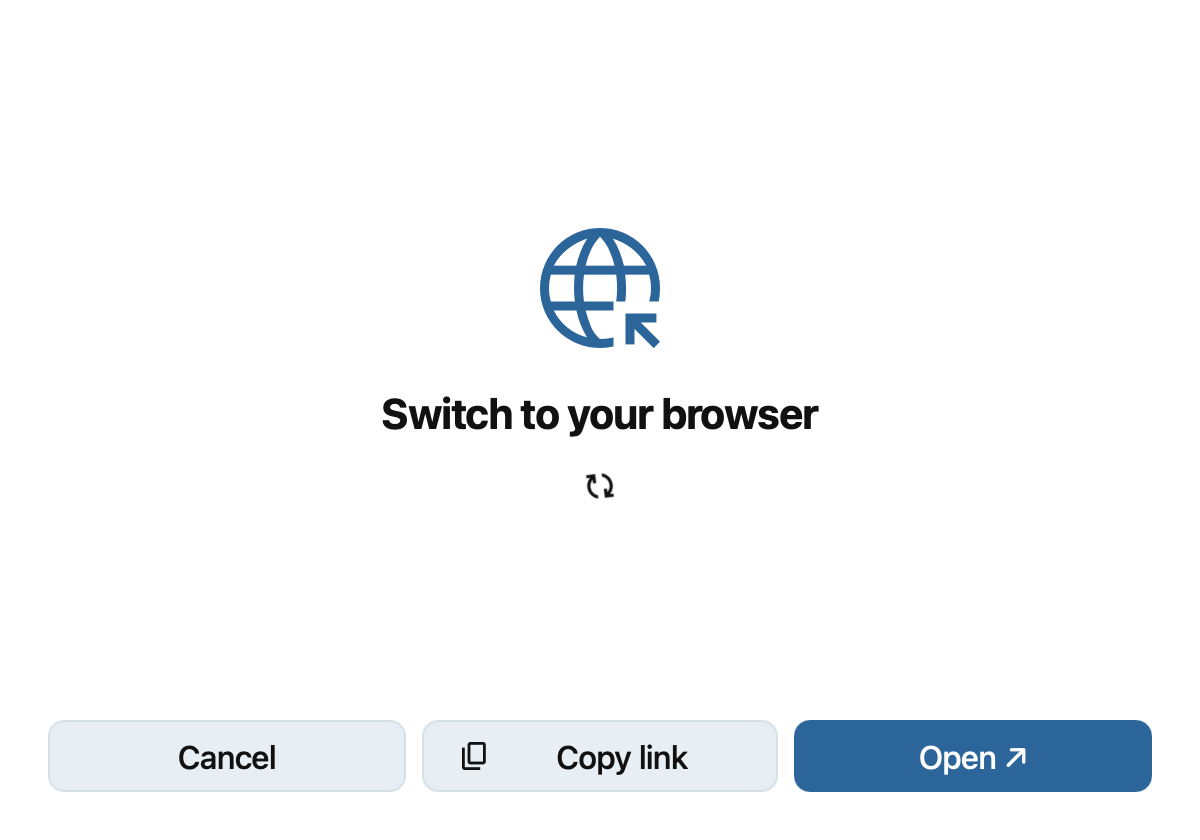
The wizard asks you to switch to your browser. Click Open if the browser does not open automatically. Log in and grant the desktop client access when prompted. Then return to the wizard.
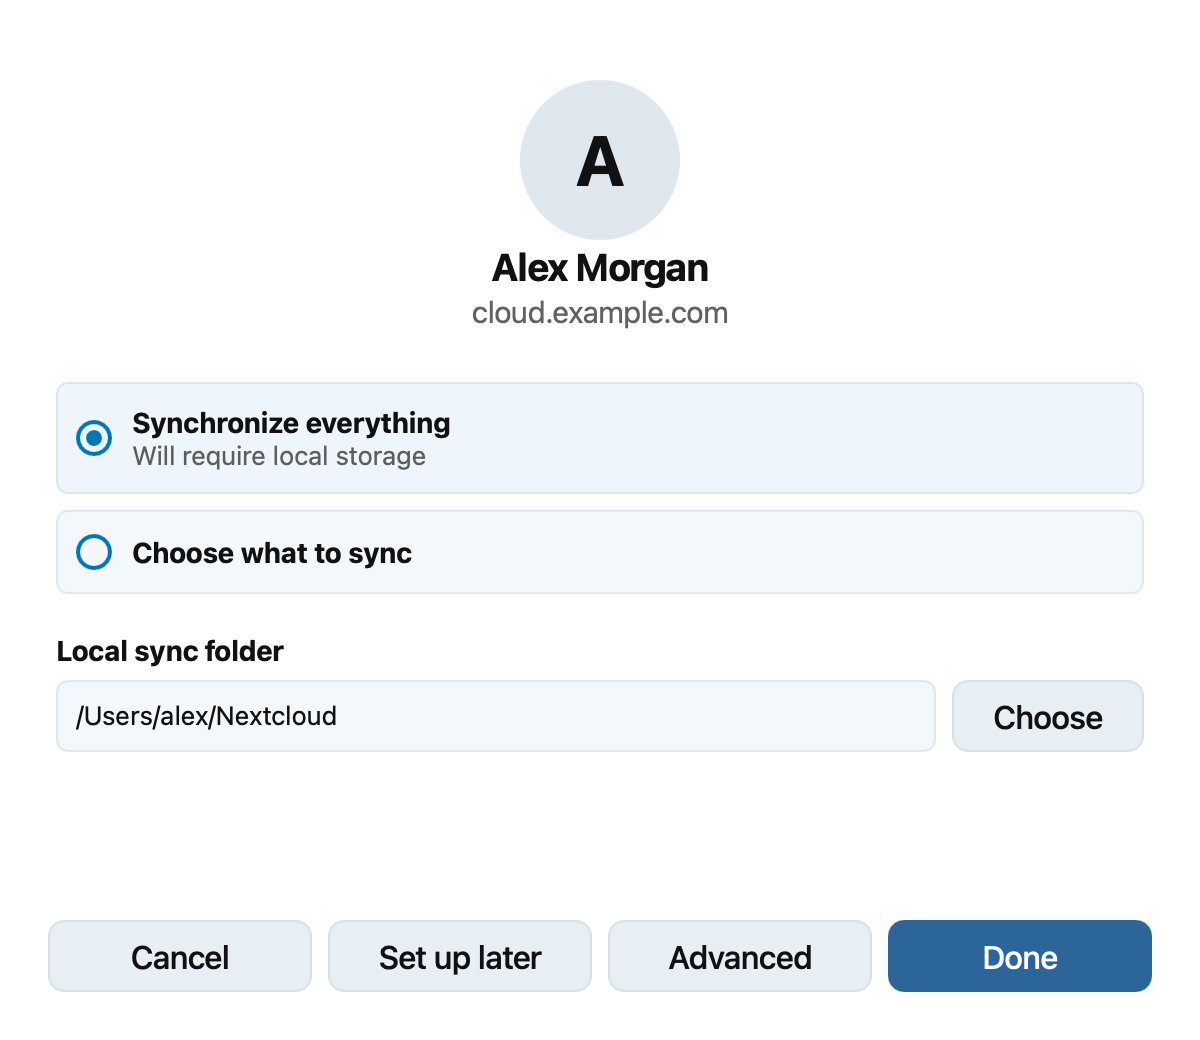
Choose how to sync your files. With classic synchronization, choose Synchronize everything or Choose what to sync. Use Choose beside Local sync folder to change where files are stored, then click Done.
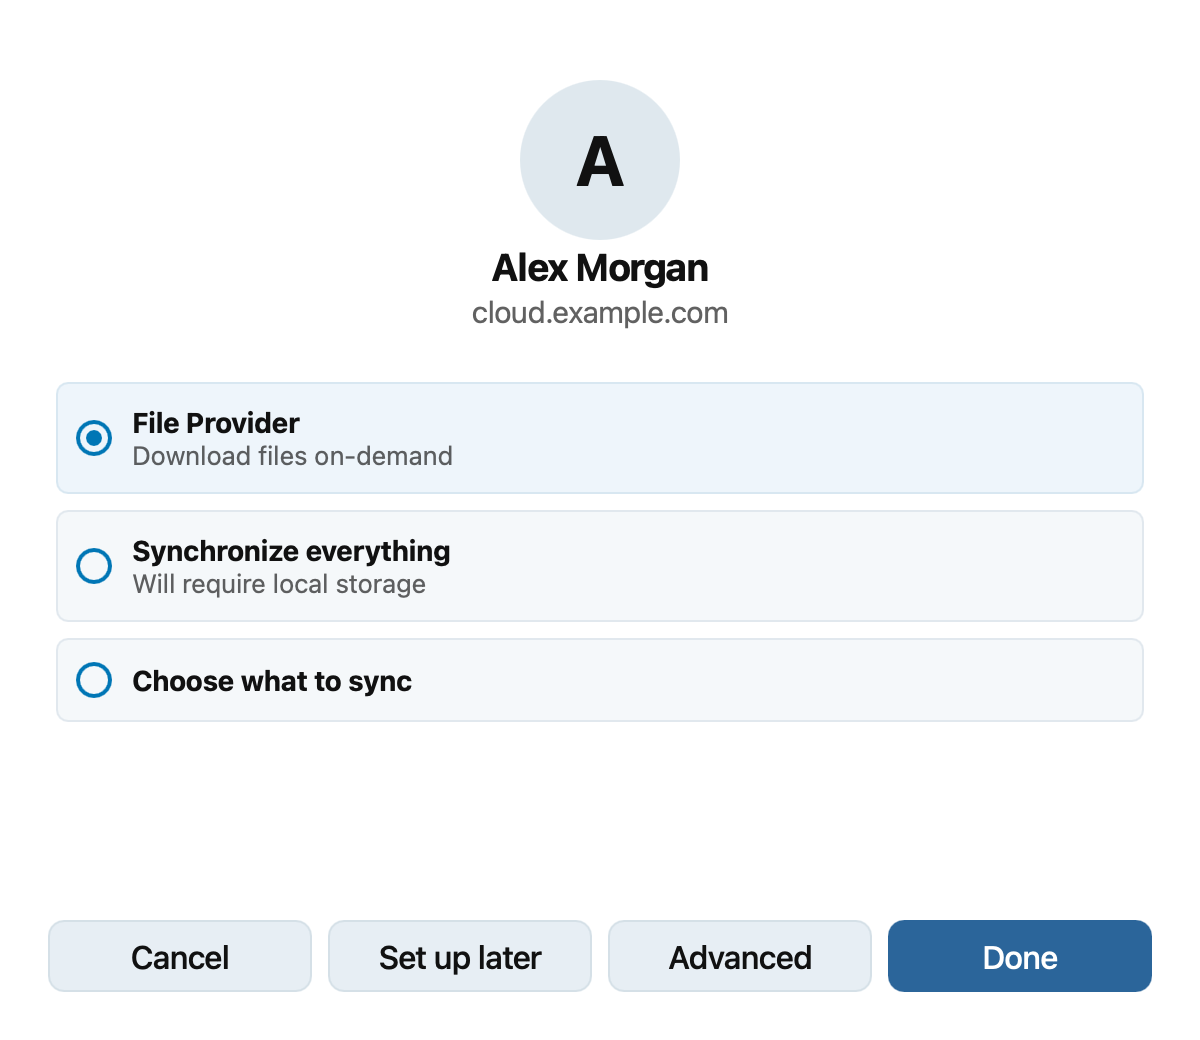
You can choose File Provider to download files on demand. Click Done to finish adding the account. On macOS, see Using the macOS File Provider for details about Finder integration.
Before finishing classic synchronization, click Advanced if you want confirmation before syncing large folders or external storage. Set your preferences in Advanced options, then click Done to return to the wizard.
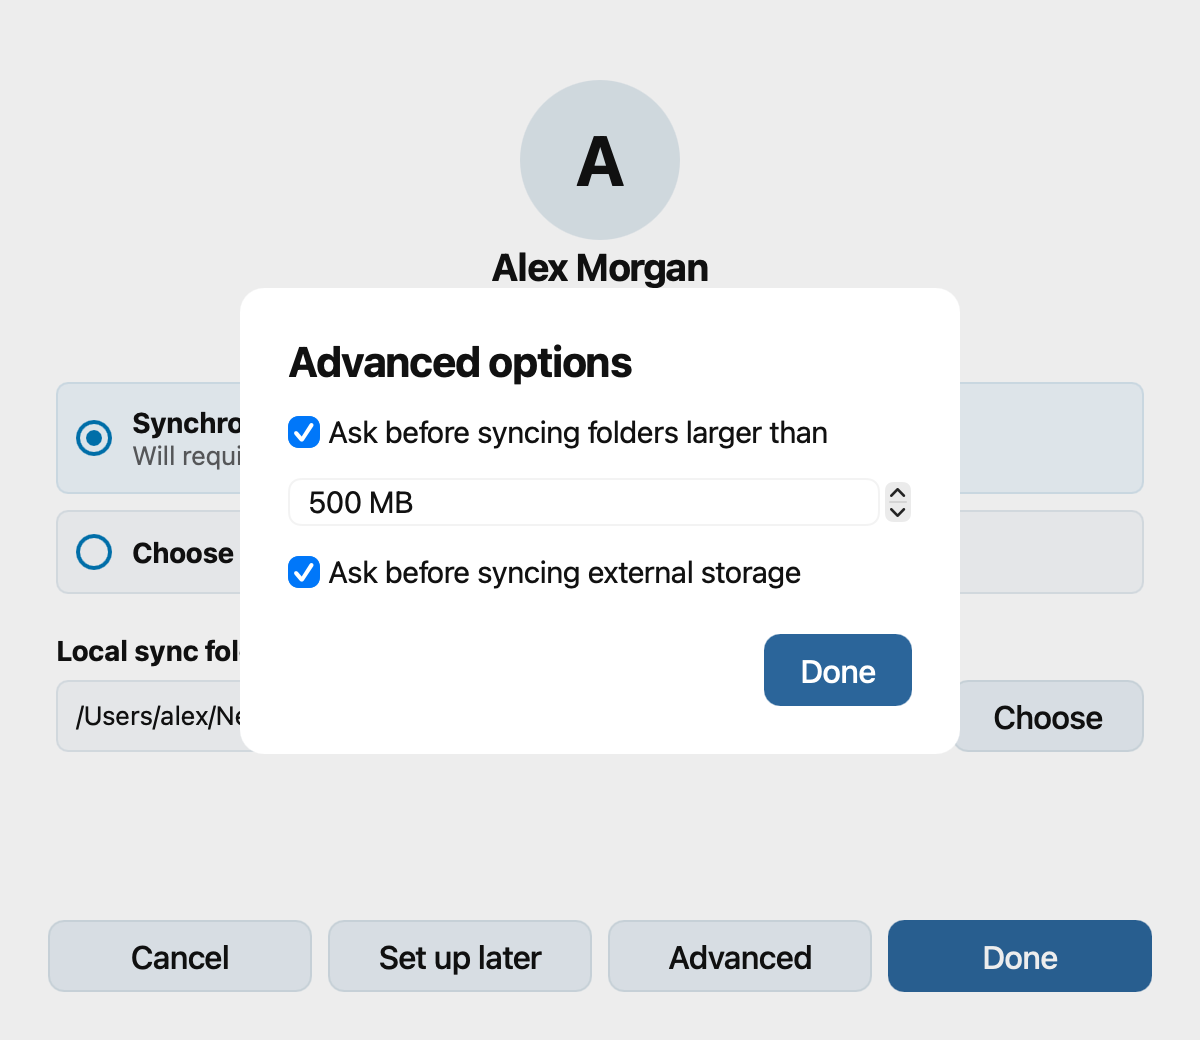
Settings dialog
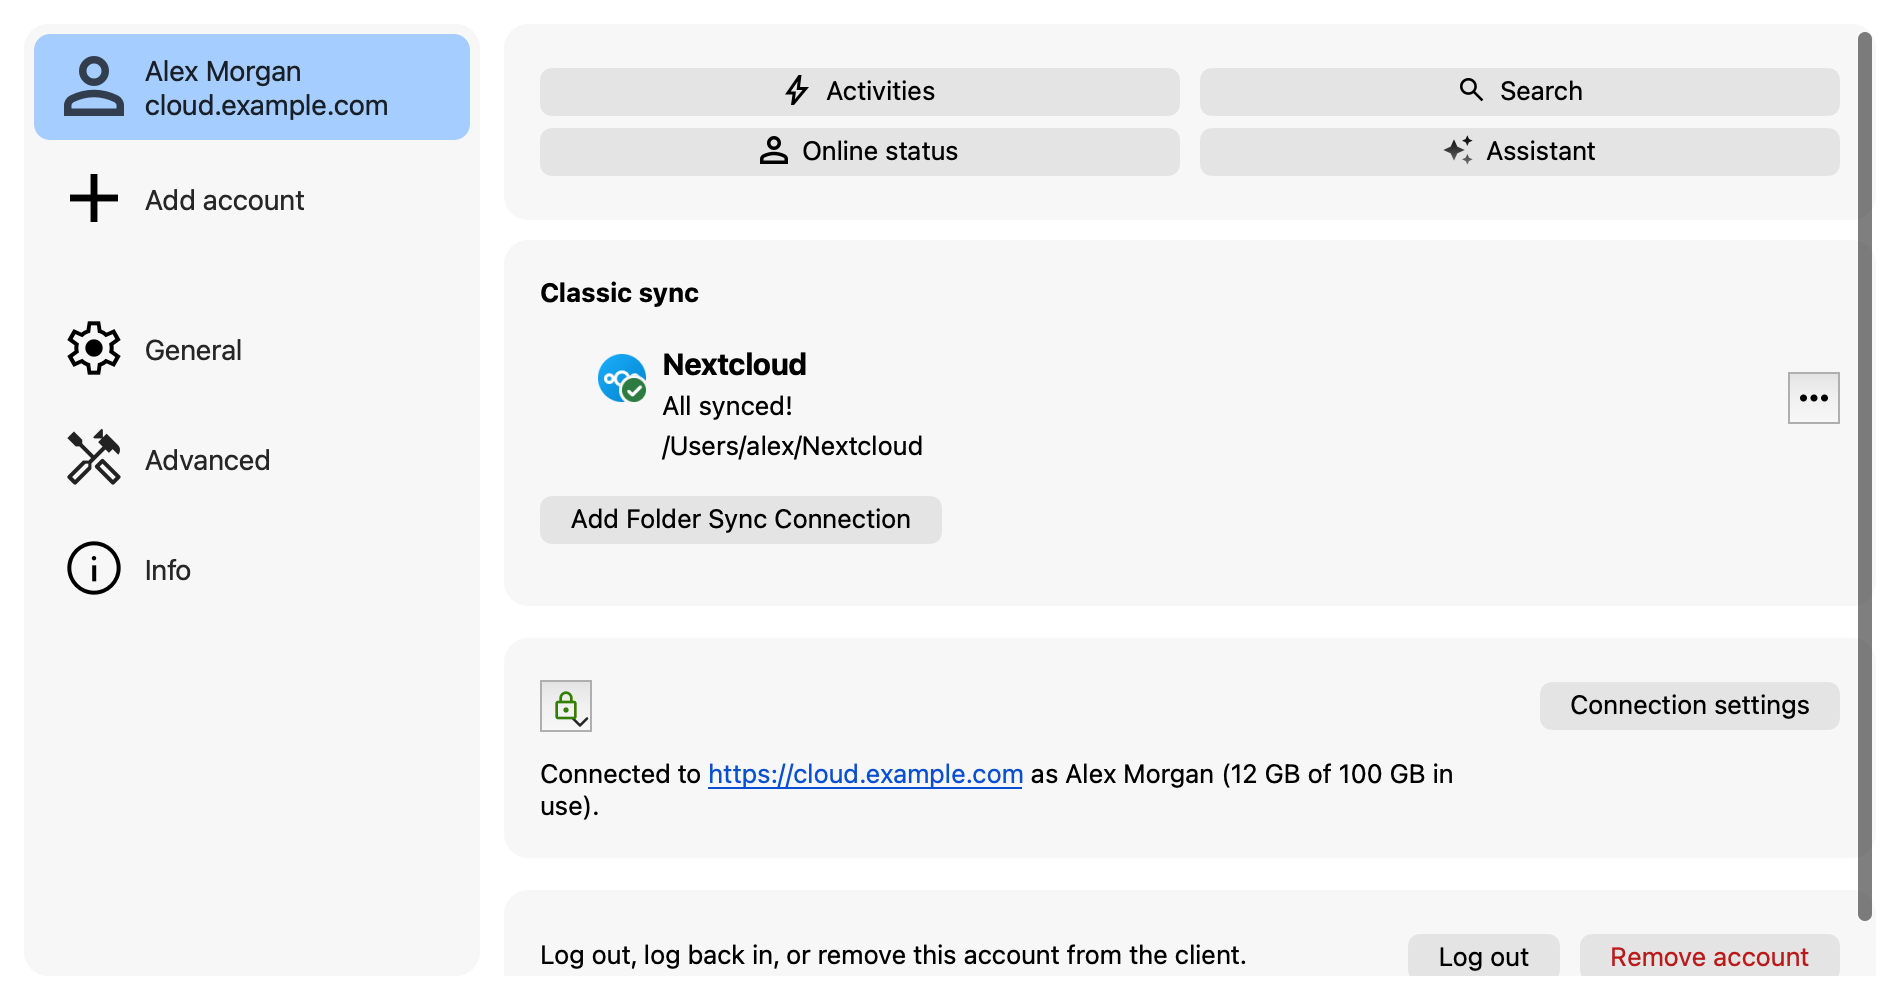
Select an account in the sidebar to see its sync status, local folder, storage usage, and connection settings. Use Add Folder Sync Connection to set up another classic sync folder for that account. You can log out or remove the account from the same page.
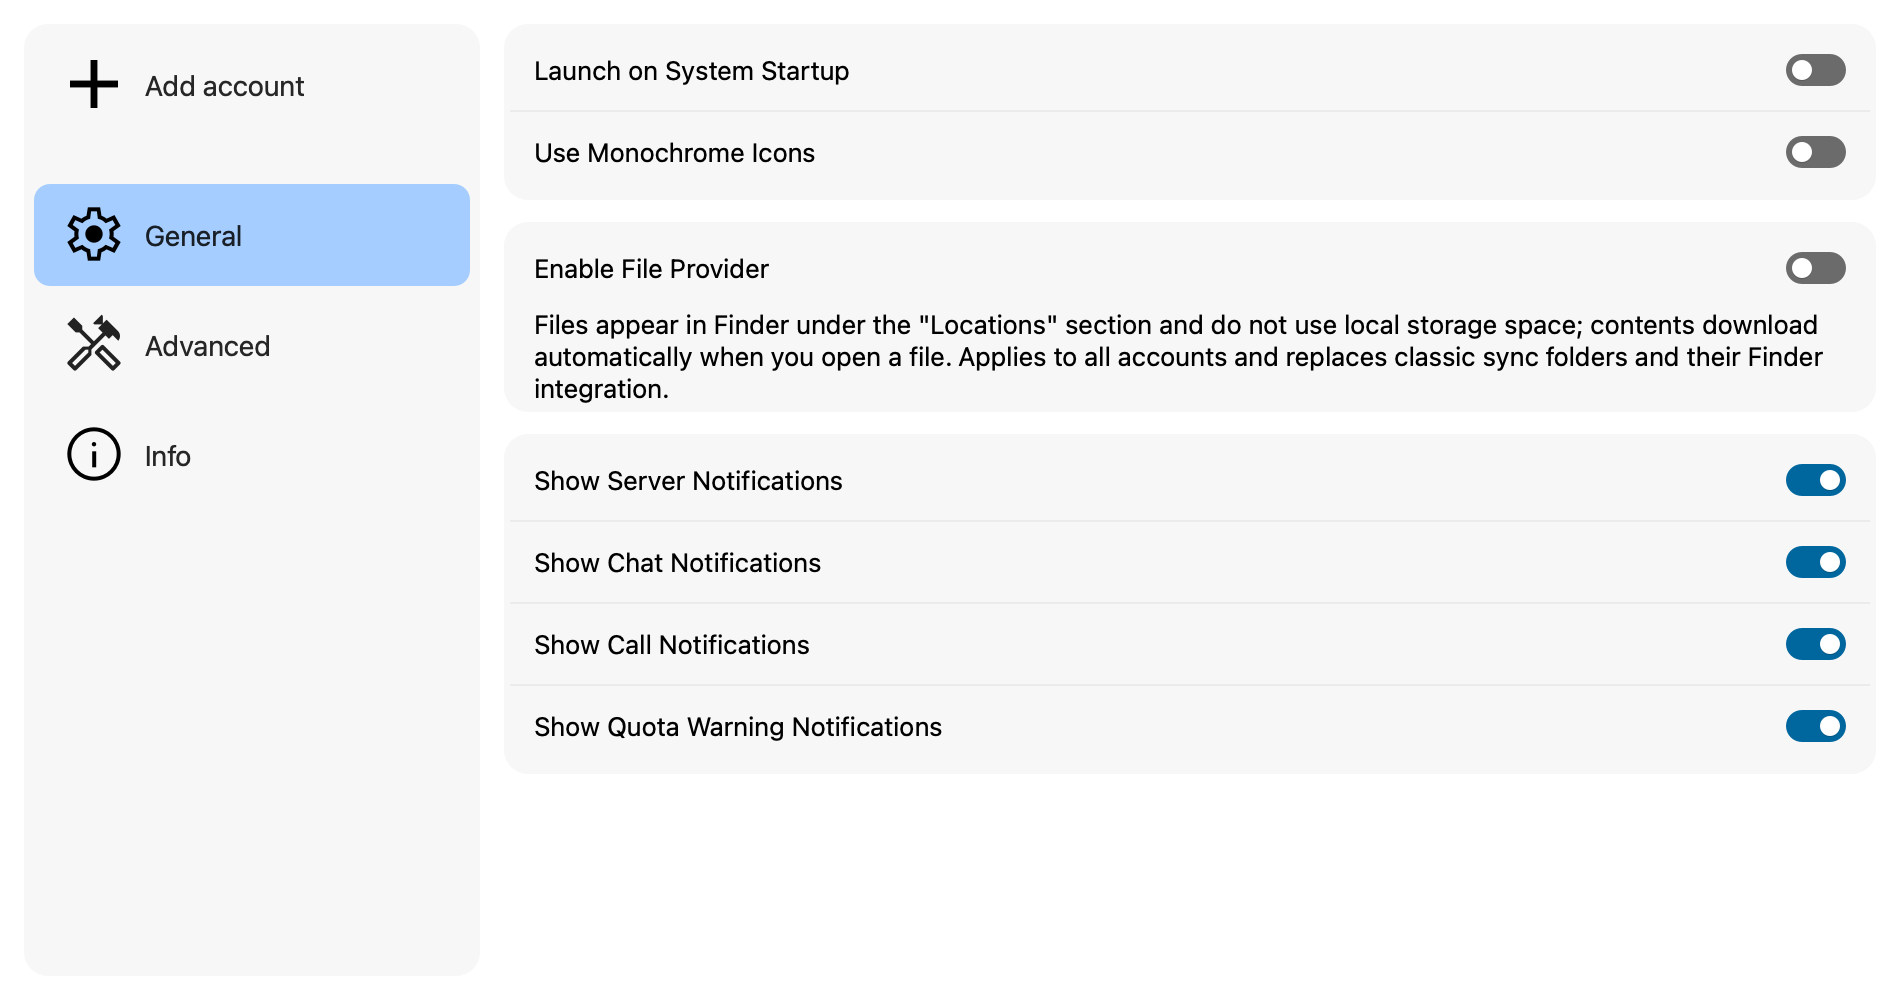
Under General, choose whether to launch the client at startup, use monochrome icons, and show notifications. On macOS, you can also enable File Provider for all accounts. This setting replaces classic sync folders and their Finder integration.
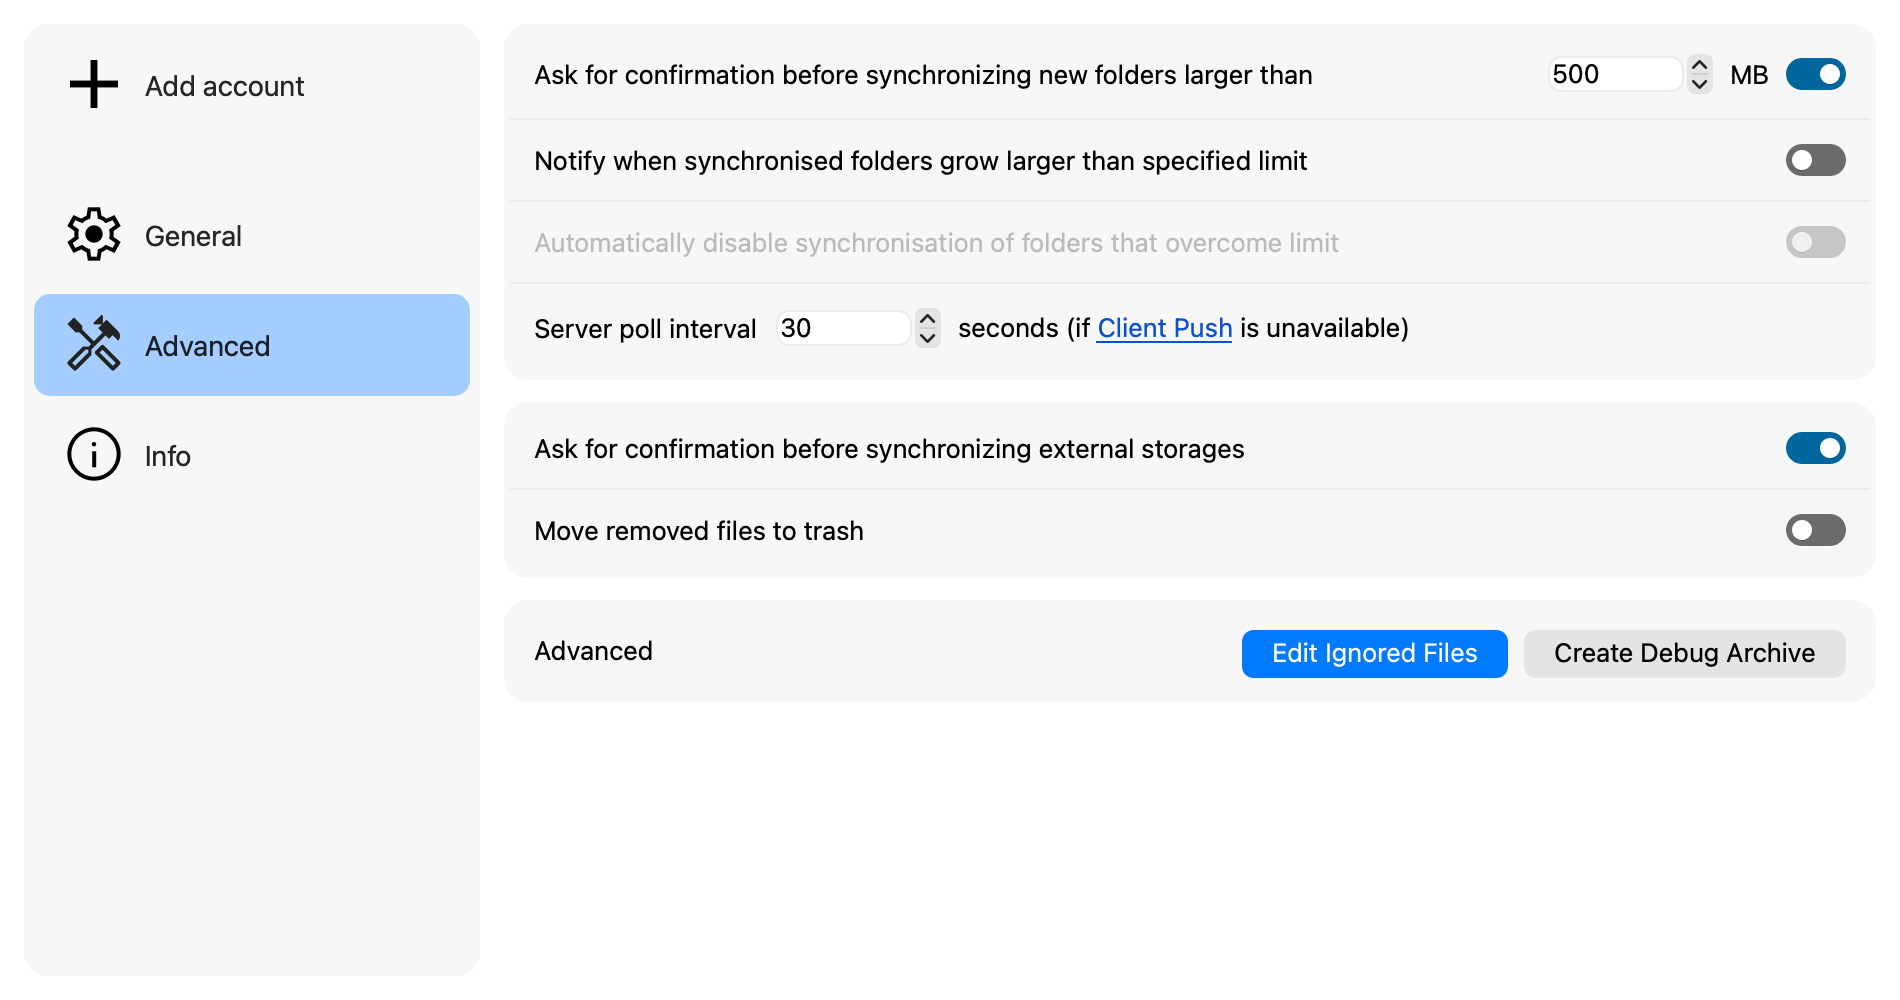
Under Advanced, set confirmation thresholds for large folders and external storage. You can also adjust the server polling interval, decide whether removed files go to the trash, edit ignored files, or create a debug archive.
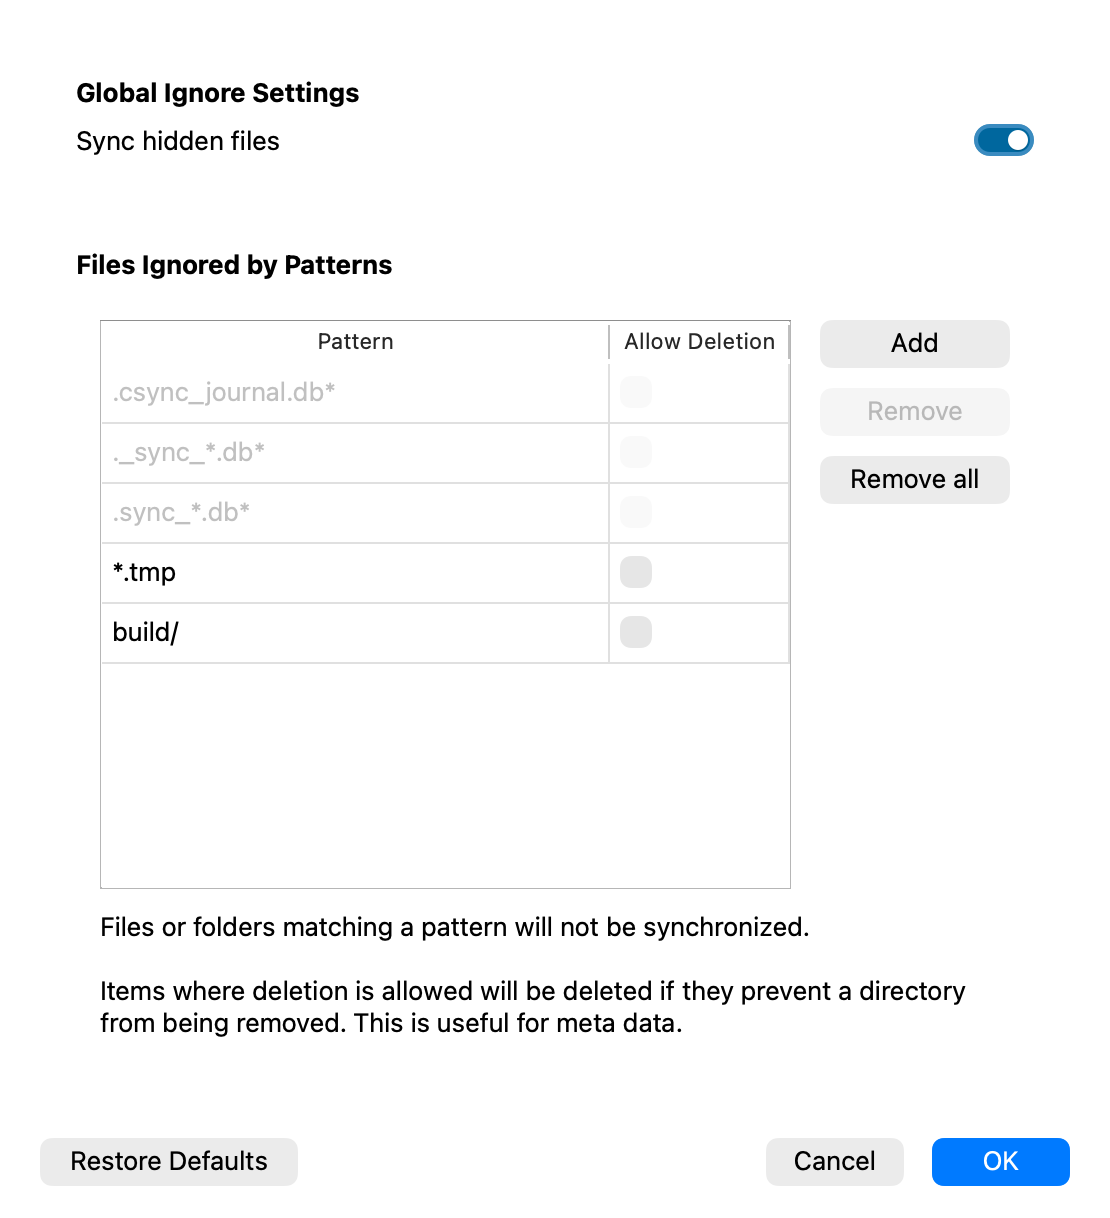
To exclude files or folders from synchronization, click Edit Ignored Files under Advanced. Add a pattern for
each item you want to ignore. An asterisk (*) matches any number of characters, a question mark (?)
matches one character, and a trailing slash (/) limits a pattern to folders. Select Allow Deletion only for
ignored items that the client may remove when they prevent a folder from being deleted. Click OK to save.
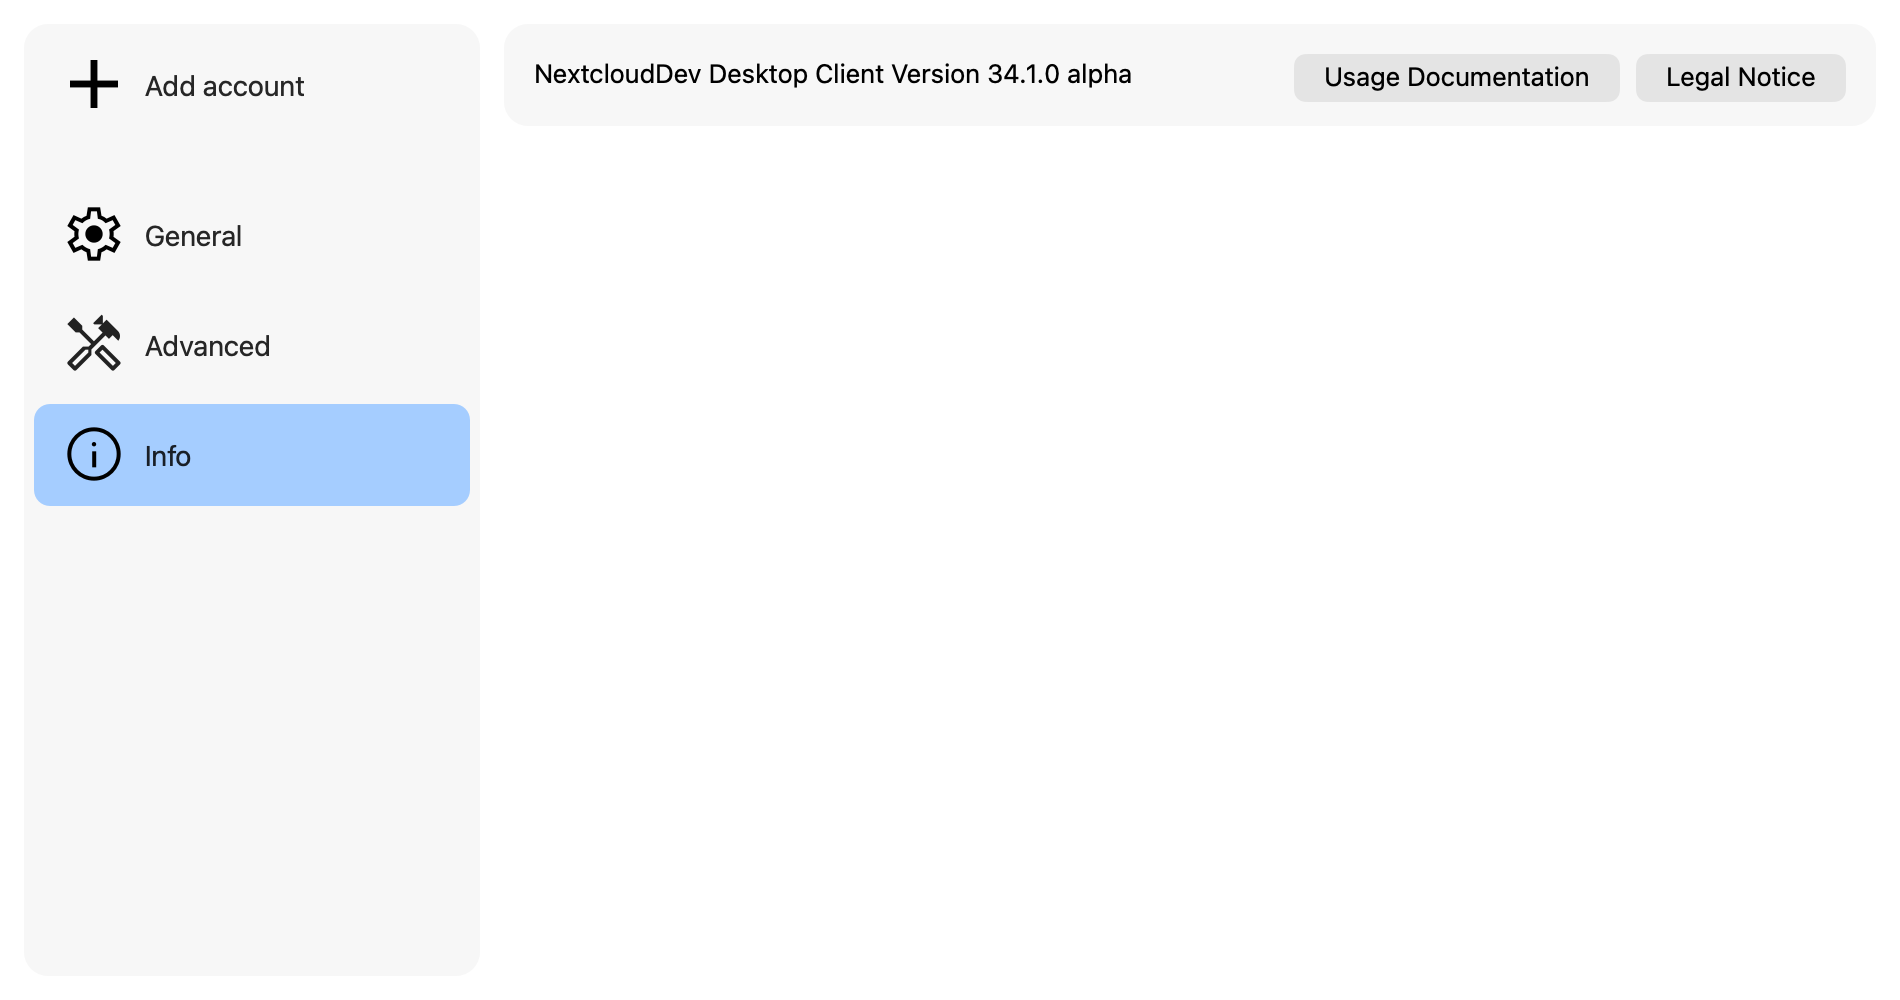
Under Info, you can check the desktop client version and open its usage documentation or legal notice.
Client features
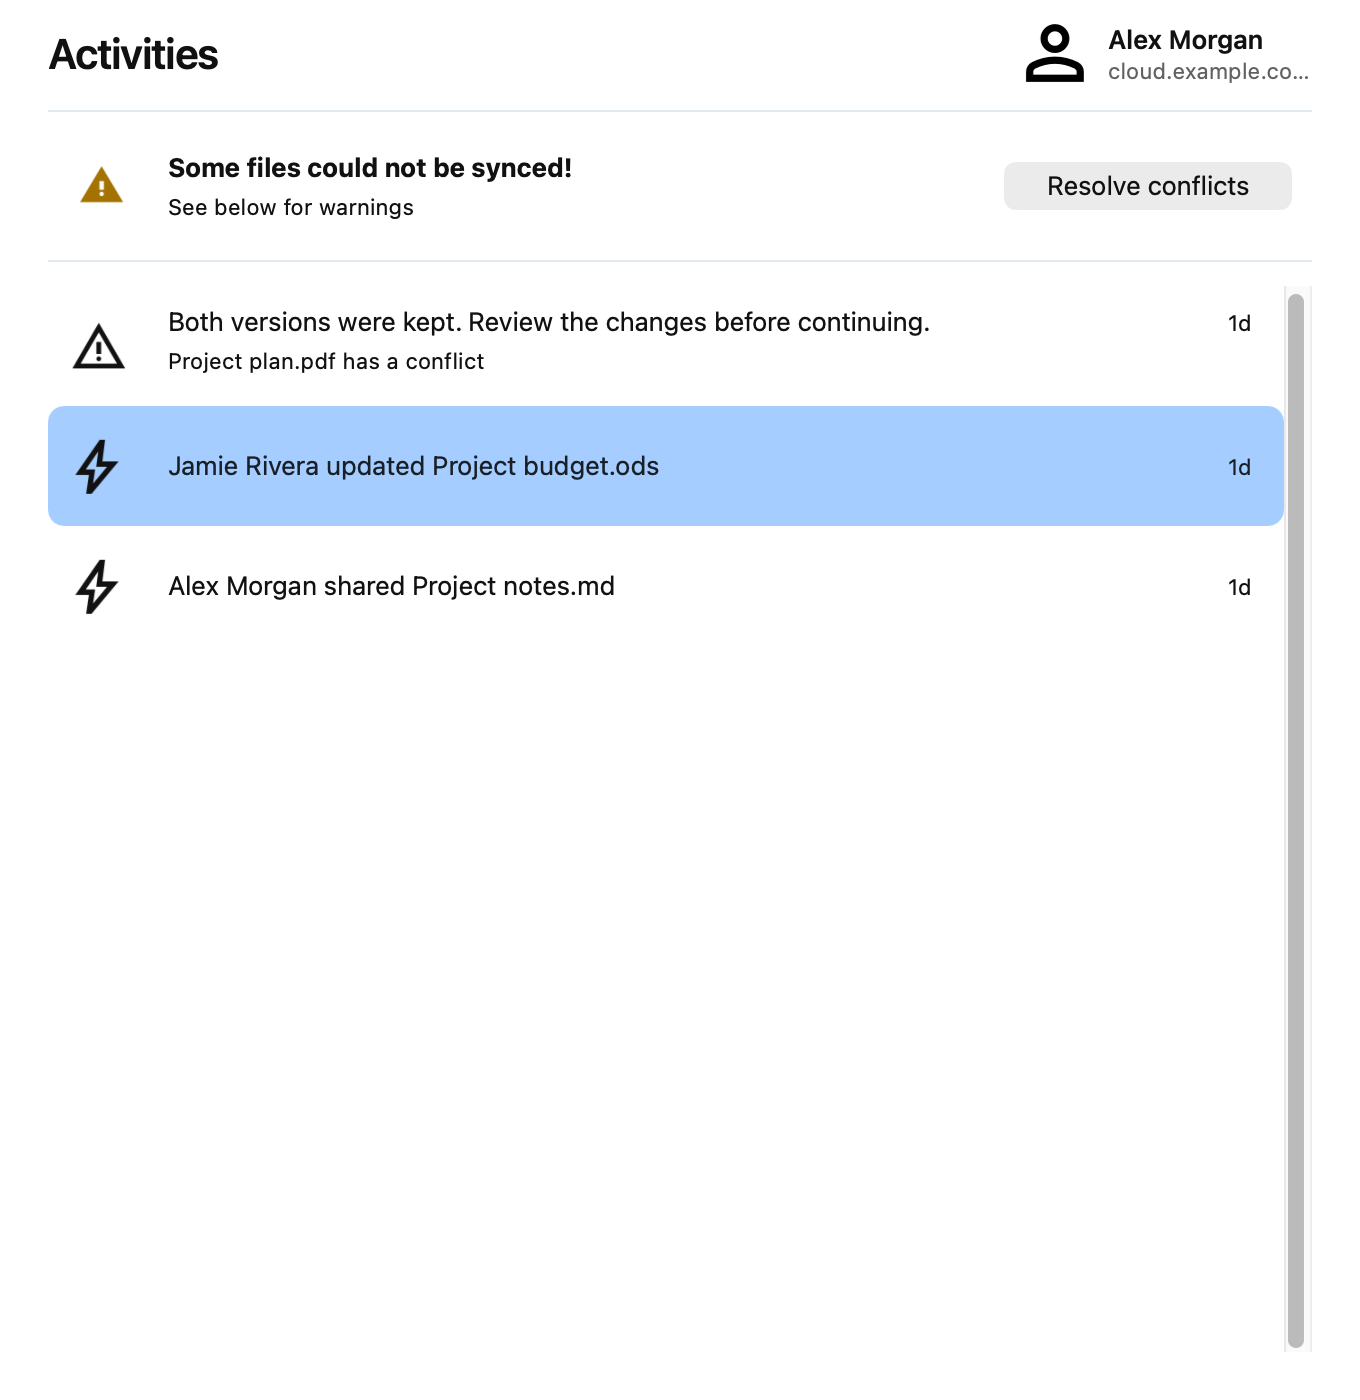
Activities: Open Activities in the client to see recent file activity and synchronization warnings. If files conflict, use Resolve conflicts to review them.
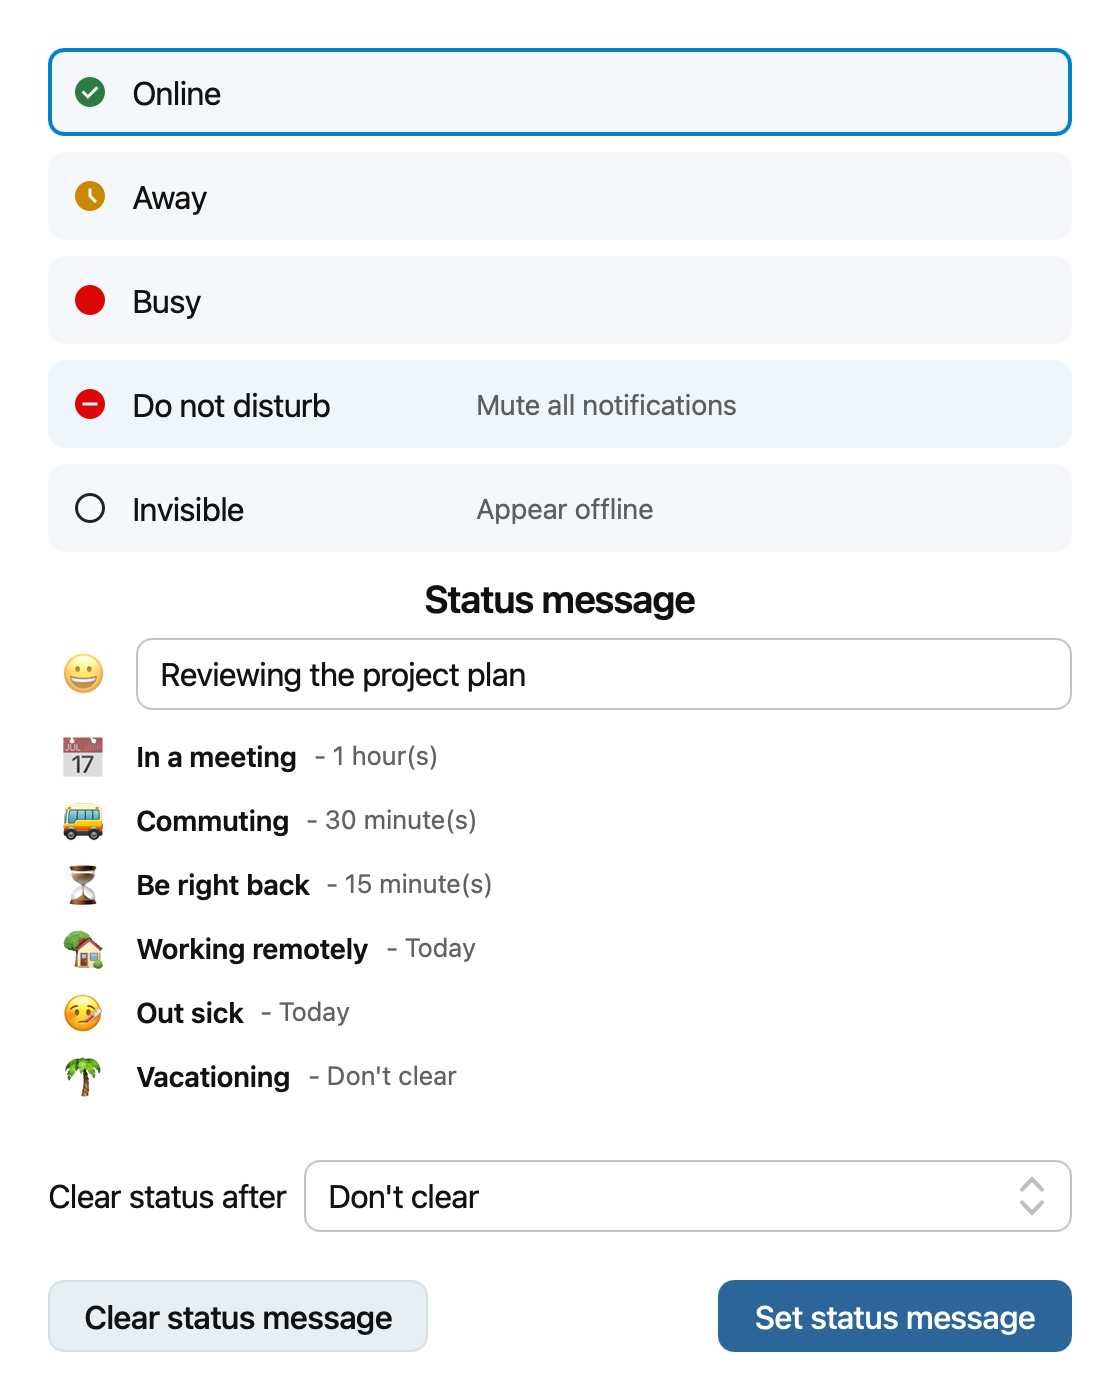
User status: If your server has the user status app, open your account in the settings dialog and click Online status. Choose your availability, enter a status message or select a suggested one, and choose when to clear it. Click Set status message to save it, or Clear status message to remove an existing message.
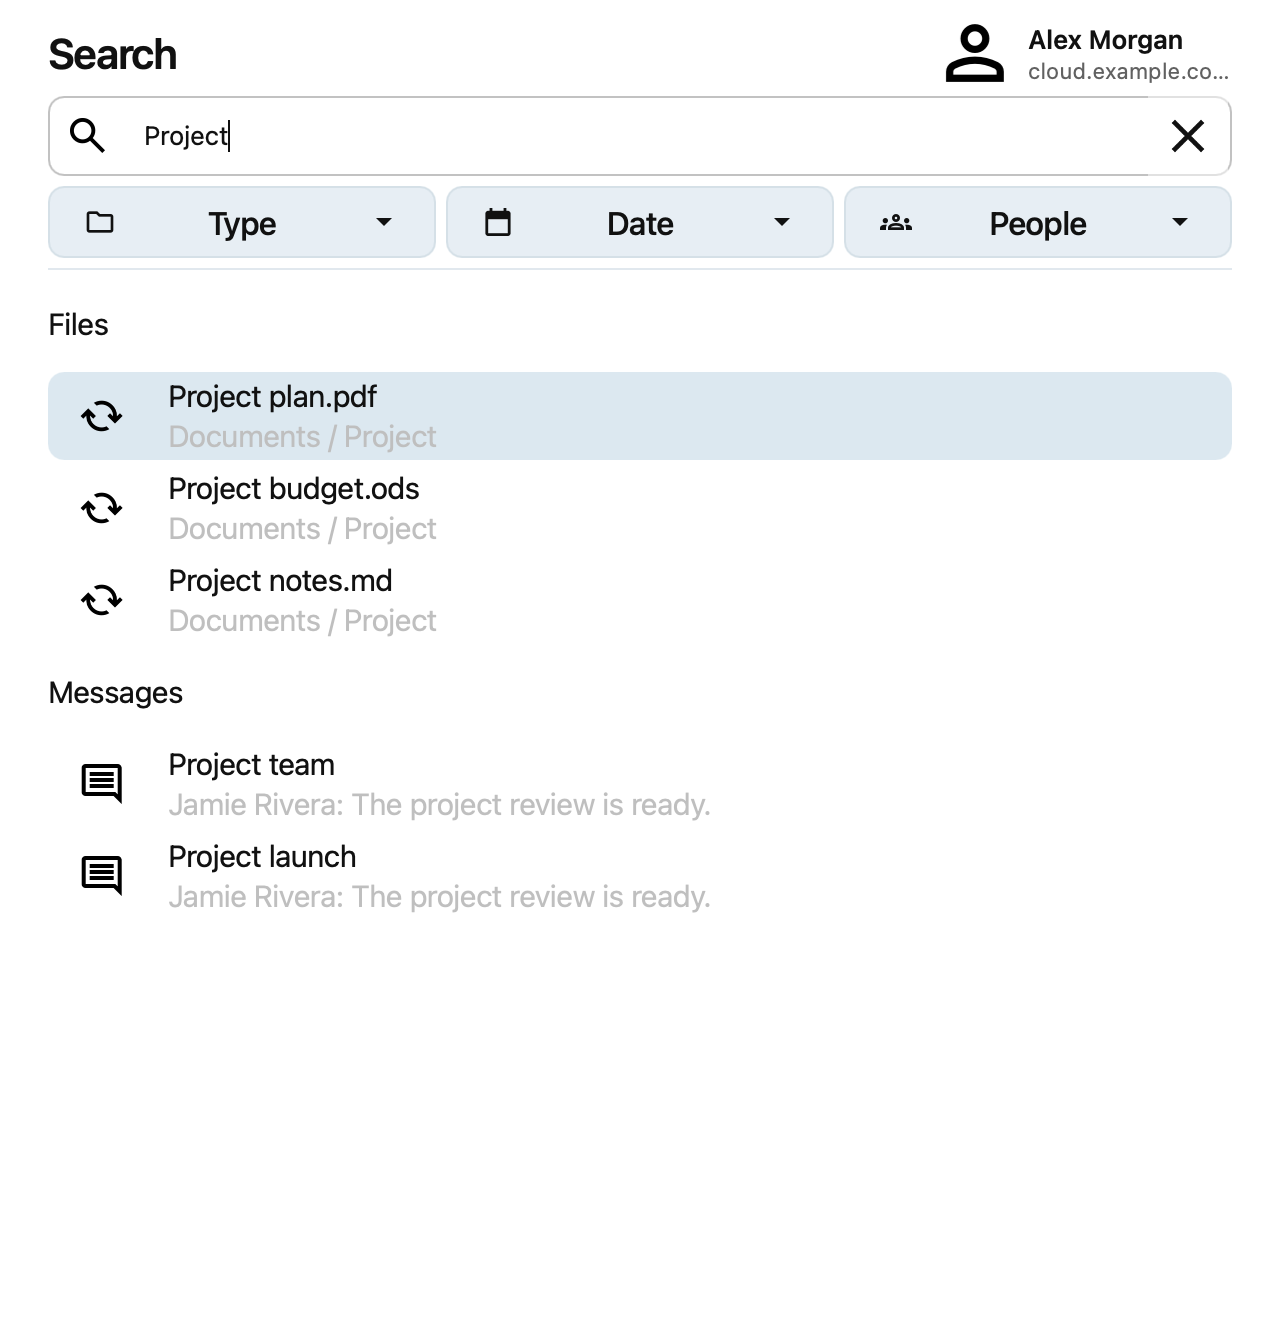
Search: Open Search in the client and enter a term to find files and other results from your Nextcloud server. Use the Type, Date, and People filters to narrow the results.
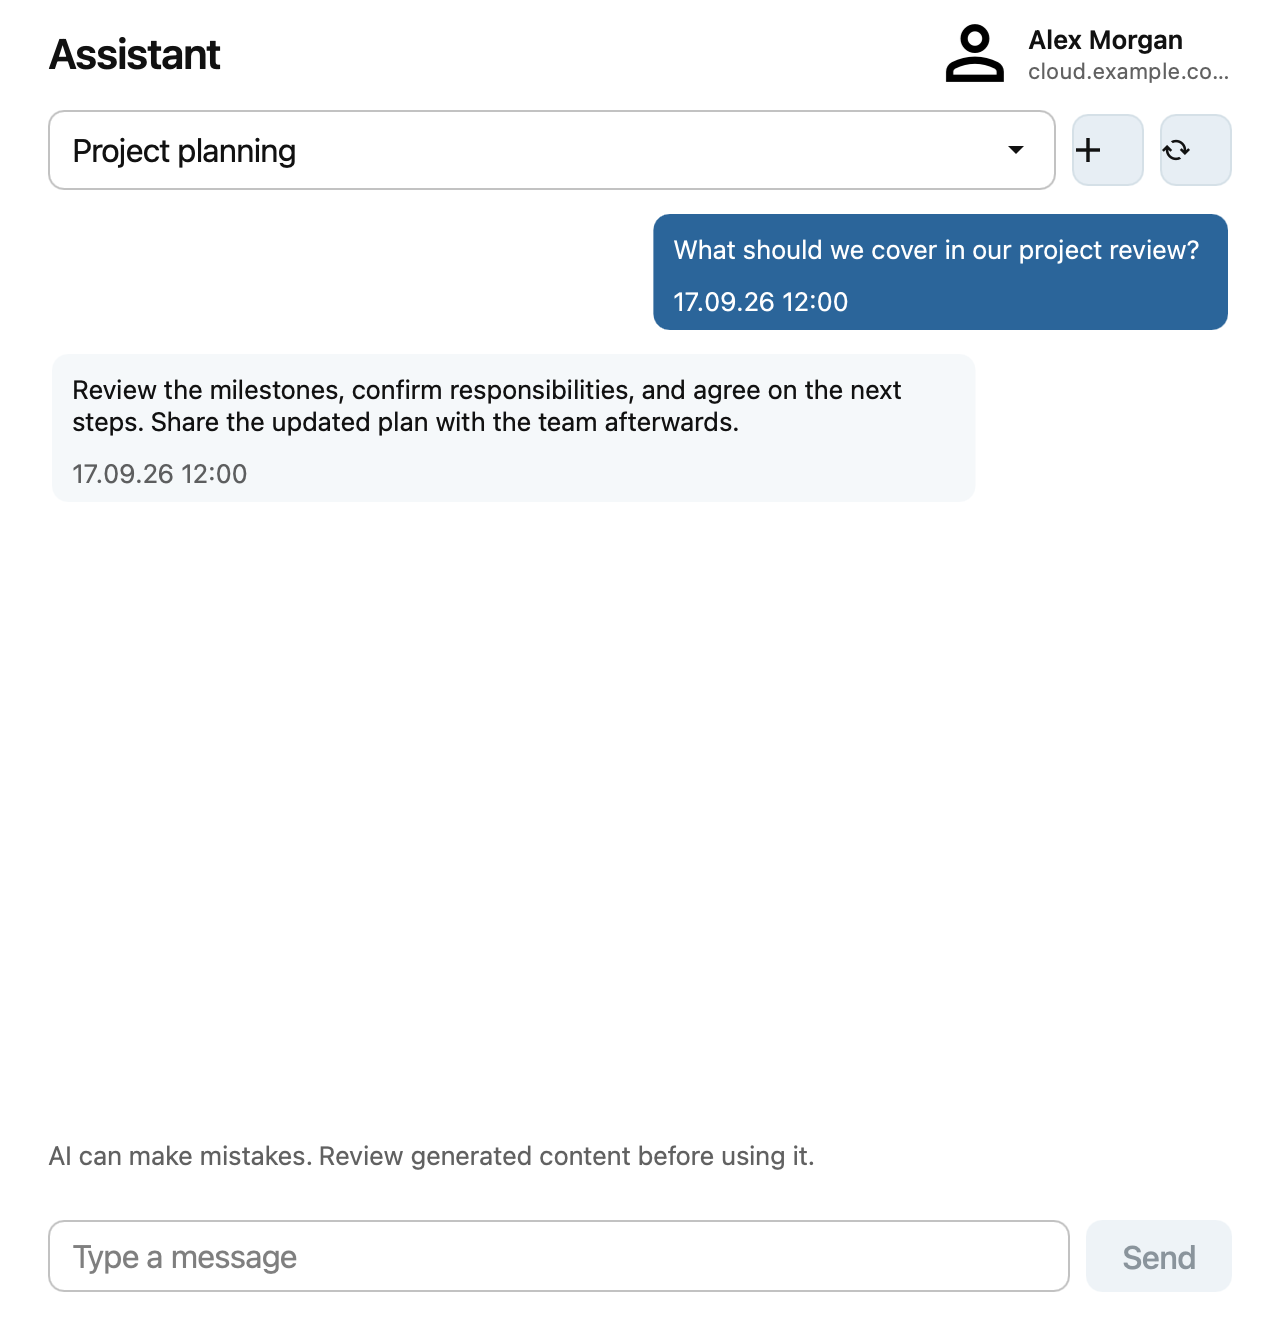
Assistant: If your server provides the Assistant, open Assistant in the client to ask a question or continue a conversation. Select a conversation, type your message, and click Send.
Systray icon
The desktop client shows a status icon in the system tray on Windows and Linux or the menu bar on macOS. Colorful status icons and colorful or monochrome tray icons are available for the same sync states. You can choose monochrome icons under General in the settings dialog.
Status |
Colorful status icon |
Monochrome tray icon |
Colorful tray icon |
|---|---|---|---|
Up to date and connected |

|

|

|
Synchronizing |

|

|

|
Paused |

|

|

|
Offline |

|

|

|
Warning; open the client for details |

|

|

|
Error; open the client for details |

|

|

|
Open the tray or menu bar icon to view the client and its available actions, such as pausing or resuming sync.
File manager overlay icons
For classic sync folders, the desktop client adds overlay icons to files in the file manager. A green checkmark means a file is up to date. A warning icon can mean that a file is ignored; a red X indicates a sync error. A blue icon indicates a file waiting to sync or currently syncing. When the client is offline, it does not show overlays for the folder’s current sync state.
A folder’s overlay reflects sync errors in its contents. Ignored files do not change the parent folder’s status. On macOS, File Provider uses the standard Finder status indicators described in Using the macOS File Provider.
Sharing from your desktop
The desktop client integrates sharing actions into Finder on macOS and Explorer on Windows. On Linux, install the
integration package for your file manager, such as nautilus-nextcloud or dolphin-nextcloud.
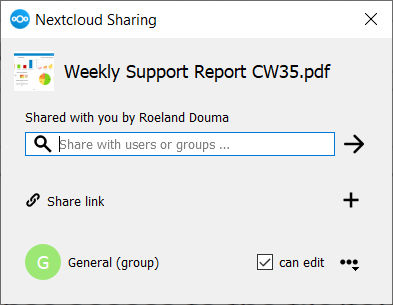
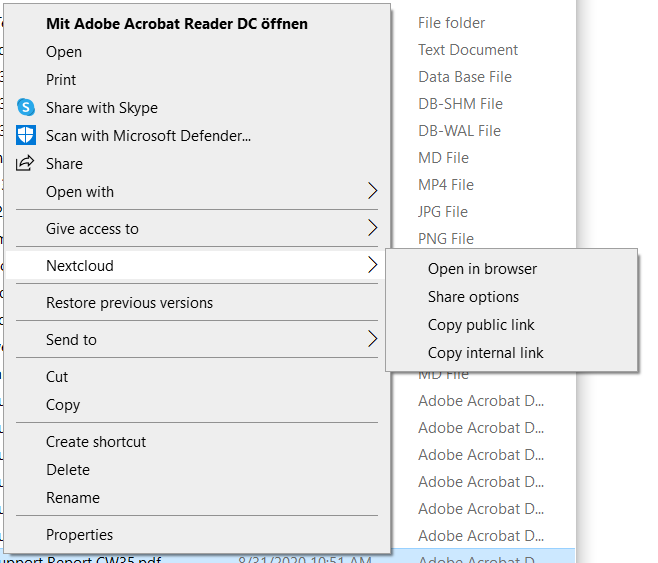
In your file manager, right-click a file and select Nextcloud > Share options to open the share dialog.
From this dialog, you can create a share link or share with another Nextcloud user.